How to Set Up Automated External Backups for Airtable in 20 Minutes
If you’re reading this, you probably use Airtable as a part of your workflows. If you’ve been using Airtable for long, chances are you’ve started to use it for more and more of your work. With Airtable becoming a central part of your setup, it only makes sense that the data within your bases and the organization of your workflows becomes more important each week.
Here we come to a key issue with the Airtable service: lack of external backups. Although it’s not something we like to think about often, we all know that if servers were to go down and we lost our bases it would be a critical blow to our work. Re-creating a base and replacing the data therein is time-consuming and expensive. Worse, depending on the type of data you had stored, it could create a breach of trust with your clients.
After working with many companies using Airtable, and because of our experience with Airtable/Zapier, here at Openside we decided to create a way to fill the need for external backups and -even better- make it automated.
(We hope this article becomes obsolete and a native solution is created, but it has been talked about for a long time without a solution in sight yet)
In the meantime, here’s your solution!
Here’s what you’ll need to make it work:
- Airtable account (of course)
- Zapier account
- Openside Airtable-Zapier connector (use coupon code “SHOWANDTELL” for 10% discount)
- Openside Line Items connector (use coupon code “LINEITEMSFREE” to get this free for LIFE if purchased in next 30 days)
Disclaimer: We are not directly associated with Airtable or Zapier (although we are an Expert Partner of Zapier). Setting up this backup requires entering your API key into Zapier and our connectors which means we technically do have access to it, however we do not store it on our systems anywhere. It is only stored on Zapier’s systems, similar to the existing connector.
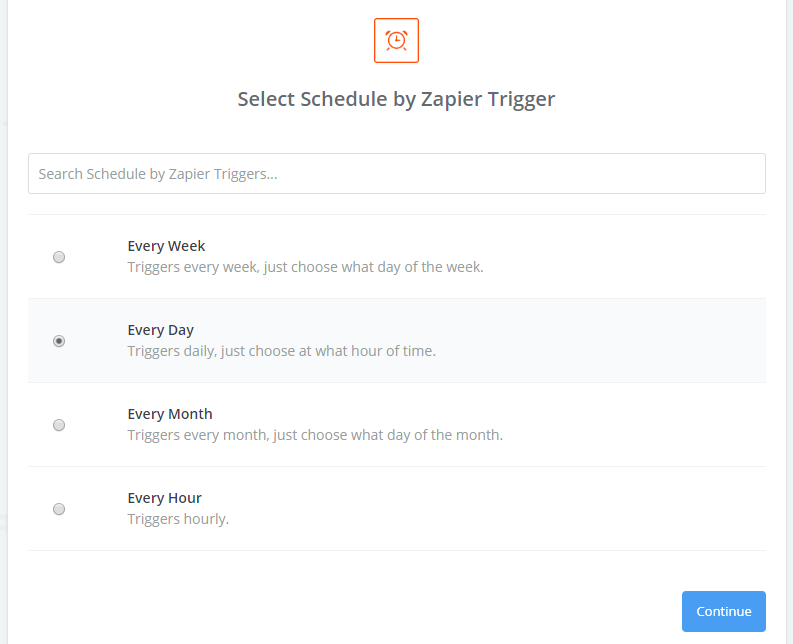
Step #1: Schedule by Zapier (trigger)
Using the Schedule by Zapier trigger, set how often you want to run a backup.
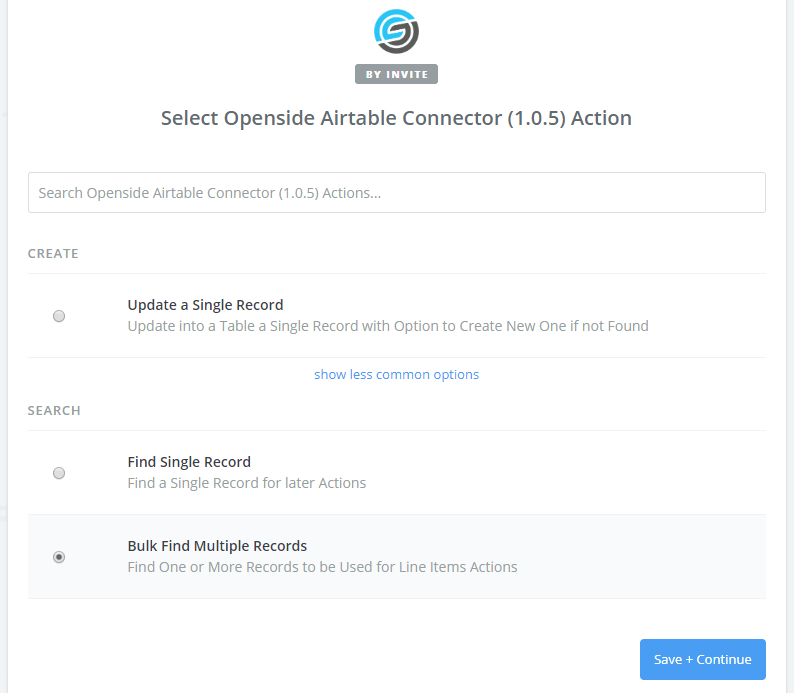
Step #2: Add a search action with the Openside Airtable Connector
Select the Openside Airtable Connector. In the “choose action” menu, select the Search: Bulk Find Multiple Records option
Select your Base, then your first Table to be backed up
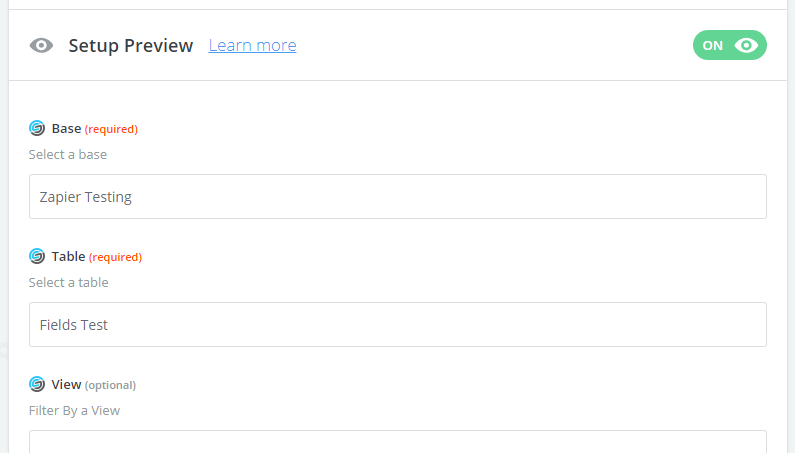
(At this point you can choose to customize the backup with a number of options, including filtering by view or formula, sorting the backup by field, or selecting only some fields to be returned. Ignore the Replace Commas option)
Select YES to output as JSON (return results as JSON):
- JSON is a specialized formatting option that allows the data to transfer smoothly (note: you don’t have to know any JSON to use this option)
- This will ensure the output data doesn’t have any formatting issues
Step #3: Convert Output to CSV (action)
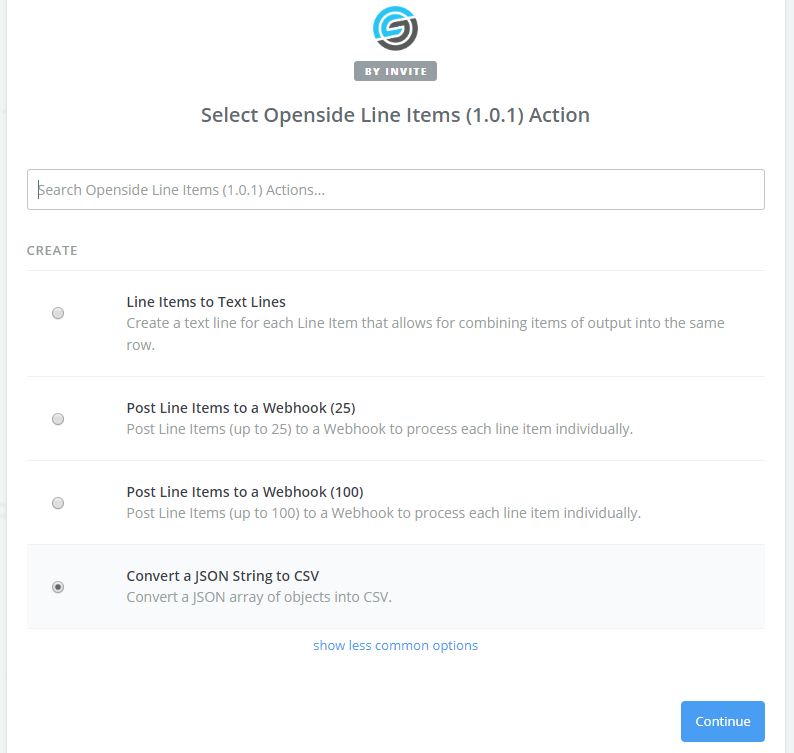
Add a step to your Zapier workflow. Select the Openside Line Items action option (link above).
Note: If you are OK backing up your data as JSON data instead of a CSV file, this step (and using the Openside Line Items connector) can be skipped. CSV is a more common format and can easily be opened in excel or Google Sheets. JSON is for more technical use cases.
Once you have that, select the option to Convert JSON string to CSV
Under the JSON Text option, use the Insert a Field button in the top right of the field, and select the bulk extract file output from Step #2 above (the result your previous Search in the Zap flow):
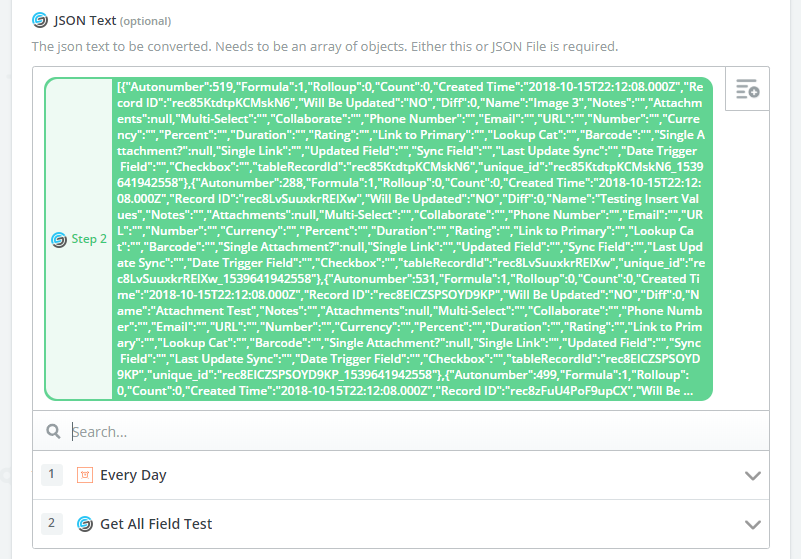
In the Output File Name field, specify your file output name. I usually just make it the same name of the table I’m backing up.
This returns a url to the csv file, which can then be attached to an email, input into email body, saved to Google Drive, or viewed later (see Step #4 below)
Repeat Steps #2 and #3 for as many tables are within your base
Depending on your base size, you’ll want to create additional Search and Actions within your Zapier workflow for each table you want backed up. If your base has 3 Tables within it that you want to backup, you’ll want to have a Search (Step #2 above) and Action (Step #3 above) for each: 3 tables x 2 steps for each = 6 steps.
This needs to be done for every table you want backed up
Step #4 Add a final output action
After all table backup steps are set up, you’ll want a final action to specify how the backup files will be output, and where.
A few options available to do this:
Option A:
Send yourself an email via Email by Zapier with all the .csv file links in the body. You can then download or auto-categorize them how you want.
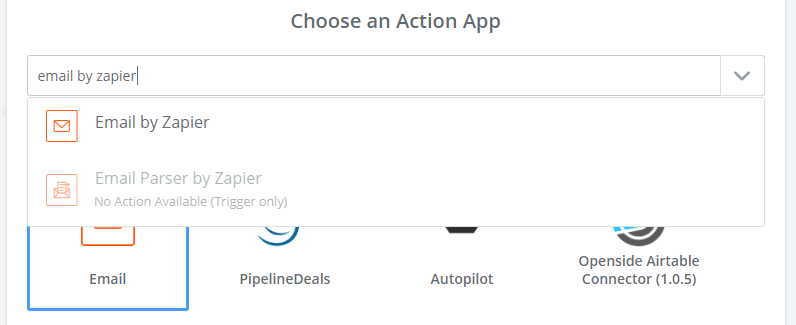
Note: because of Zapier’s limits to files sizes and number of attachments, it’s not possible at this time to send yourself an email with all the backups attached to it. To accomplish this you’ll need to use an alternative Email solution such as Gmail, Sendgrid, Mailgun, etc. (Option C below)
Option B:
Send it to a Google Docs as a backup location (see Google Docs and Zapier documentation for how to do this)
Option C:
Send it to yourself via your own email service (see Zapier and your email service documentation for setting up this option)
For convenience, here’s what you’ll need to make it work again:
- Airtable account (of course)
- Zapier account
- Openside Airtable-Zapier connector (use coupon code “SHOWANDTELL” for 10% discount)
- Openside Line Items connector (use coupon code “LINEITEMSFREE” to get this free for LIFE if purchased in next 30 days)
If you need more details while setting up your backup, feel free to read the full documentation here.
Hope that helps! Would love to hear your feedback on it!